Everyone loves grass.
I agree, grass looks beautiful and we need a nice lawn around the yard to make it look tidy but when it comes to doing something really special with a garden it is stones, rocks, and pebbles in gardens that make a garden stand out. Today I am talking about the different ways of using pebbles in landscaping, and how to make your garden…rock!
More...
Stones in Landscaping
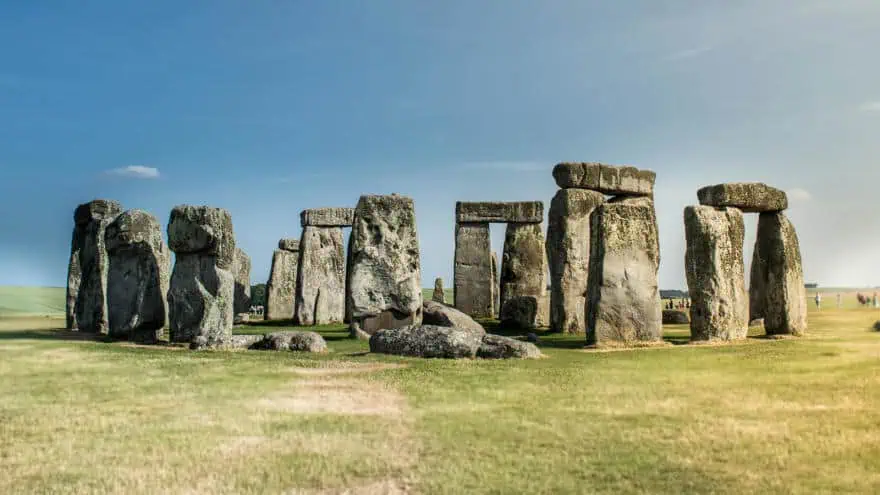
Although not quite correct, we will make the definition of stones be, "a small rock no bigger than the palm of your hand with rough edges". Of course this all falls apart when we talk about "Stepping Stones" or "Standing Stones" or of course "Stonehenge". They are all much larger and should be called something different but they are not. So we will have to suffice with what we have.
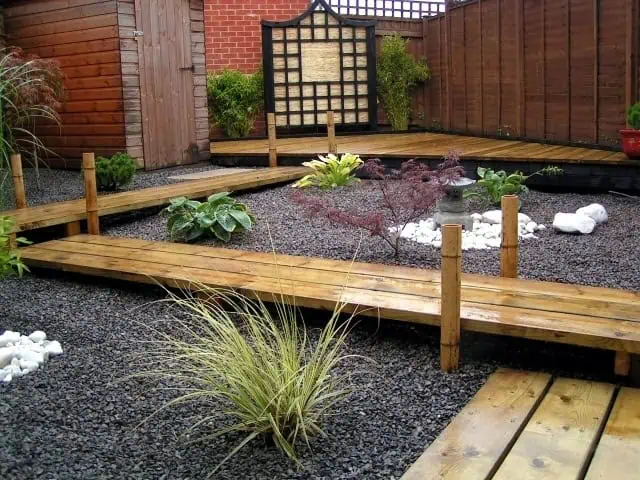
Small stones can be used as a mulch to cover an area you want to remove from a weekly maintenance routine. Since they come in so many different colours and blends it is possible to make some incredible patterns and produce a landscape that induces emotions rather than just being there.
I think a garden should not end up being a place you have to work when you get home from work. Creating a stone garden bed by using garden bed pebbles is just one example of how these materials can help you achieve that.
In the above photos we have a simple use of stones as a mulch. There are three steps to using stones as a mulch.
- Remove all your old mulch or if there was none, then clear the area of weeds and rubbish.
- Lay down some Landscape Fabric. This will help prevent weeds from growing up between the stones when we are done. If you skip this step you will be in for a whole ton of maintenance later on. Before you install the fabric, be sure to rake the area to remove any sharp objects that might pierce through the fabric. Just roll out the fabric lengthwise in the garden bed and cut to length.
- If you are going to add an accent stone (bigger stones to border the garden bed) then do that first before you lay out your smaller stones. Now you can get a wheelbarrow of the smaller stones and pour it carefully onto the fabric and spread it out. A great tip here is use your hard rake upside down so there is no way the prongs will punch through the fabric. Spread an even layer of stone about 5 to 7 cm thick over all of the fabric until your garden bed is totally covered.
The best thing about this is that you won't have to do anything to this garden bed for years to come and it will just keep looking great.
Pebbles in Garden
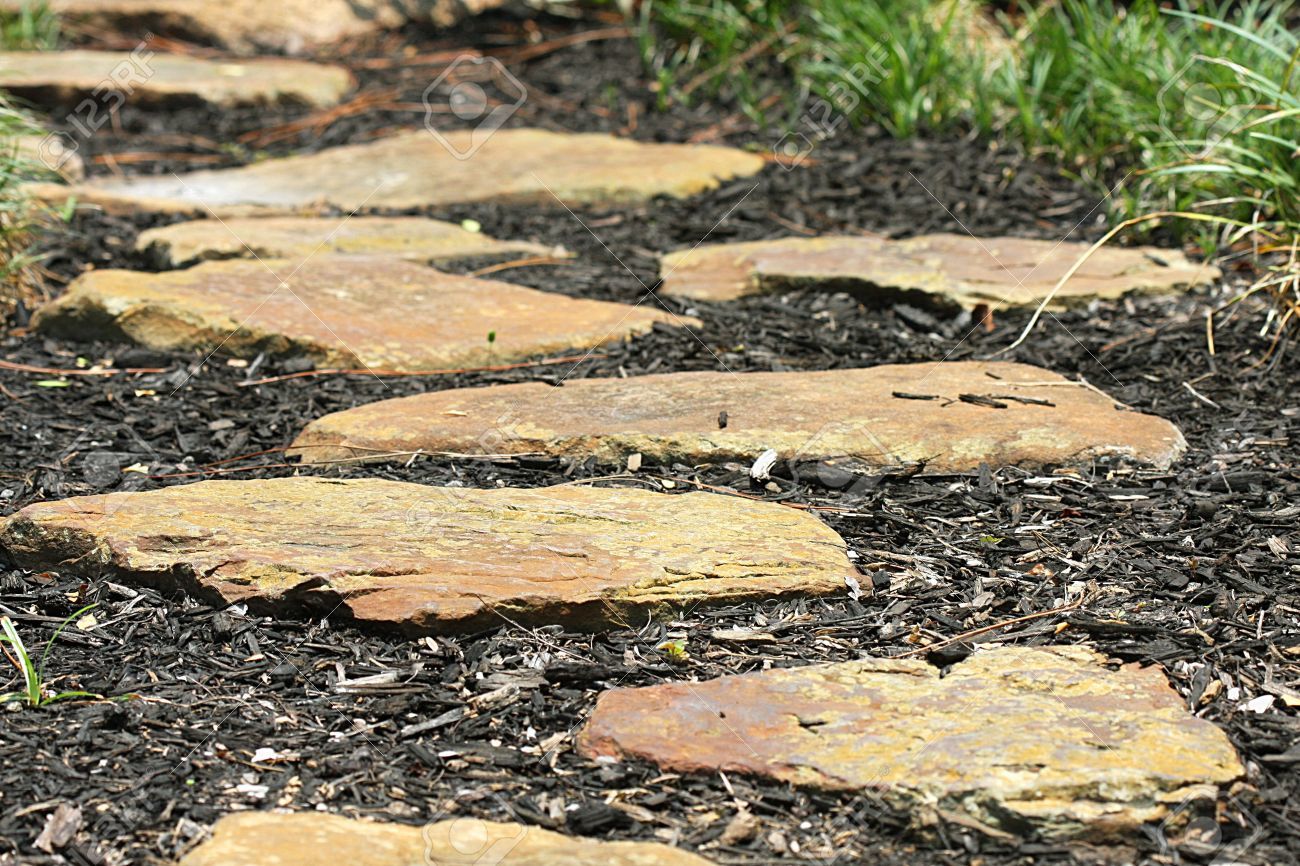
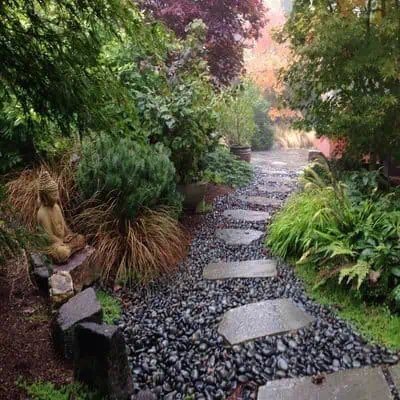
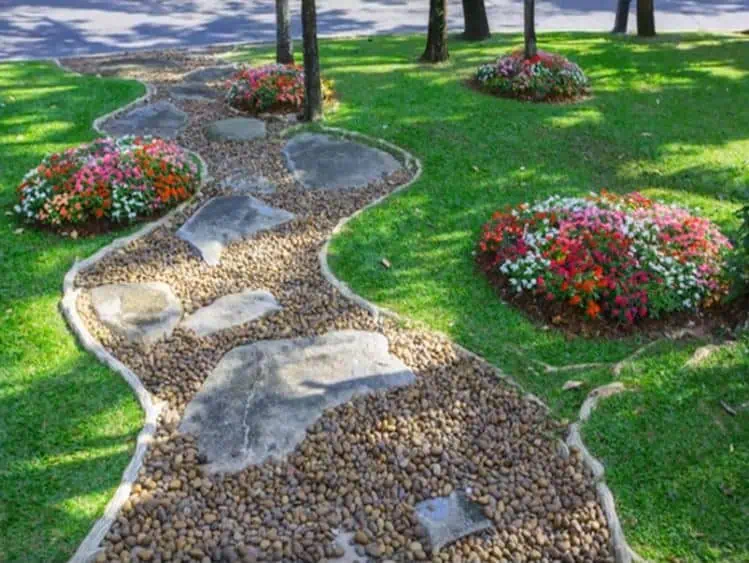
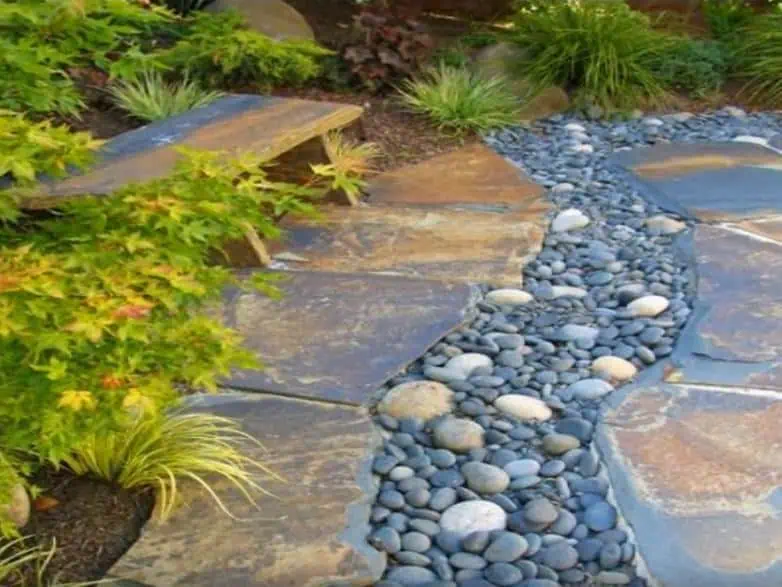
We will make the definition of Pebbles be a totally smooth rock no bigger than your palm but for the most part around 2 cm to 6 cm and roundish in shape. Being smooth, pebbles often contrast larger rocks. As you can see in the pictures below the landscaper has used a large FLAT ROCK or paver to make the stepping stones and surrounded them with rounded pebbles. It is the contrast between the pebbles and the stepping stones that catches the eye at first but then they become one as they pass through the garden.
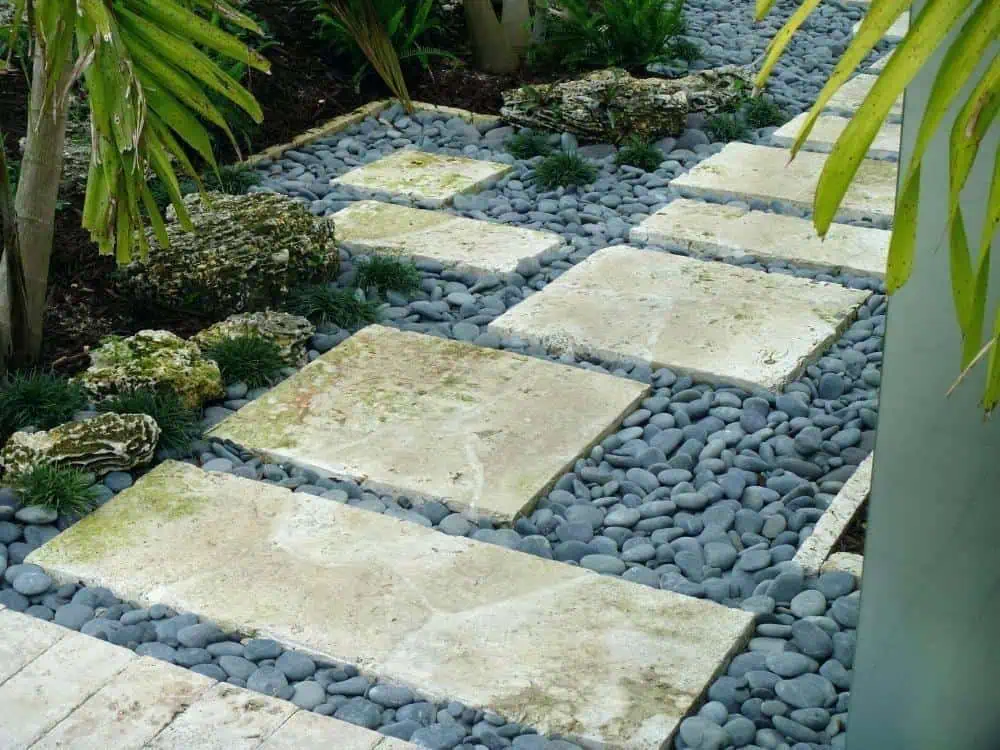
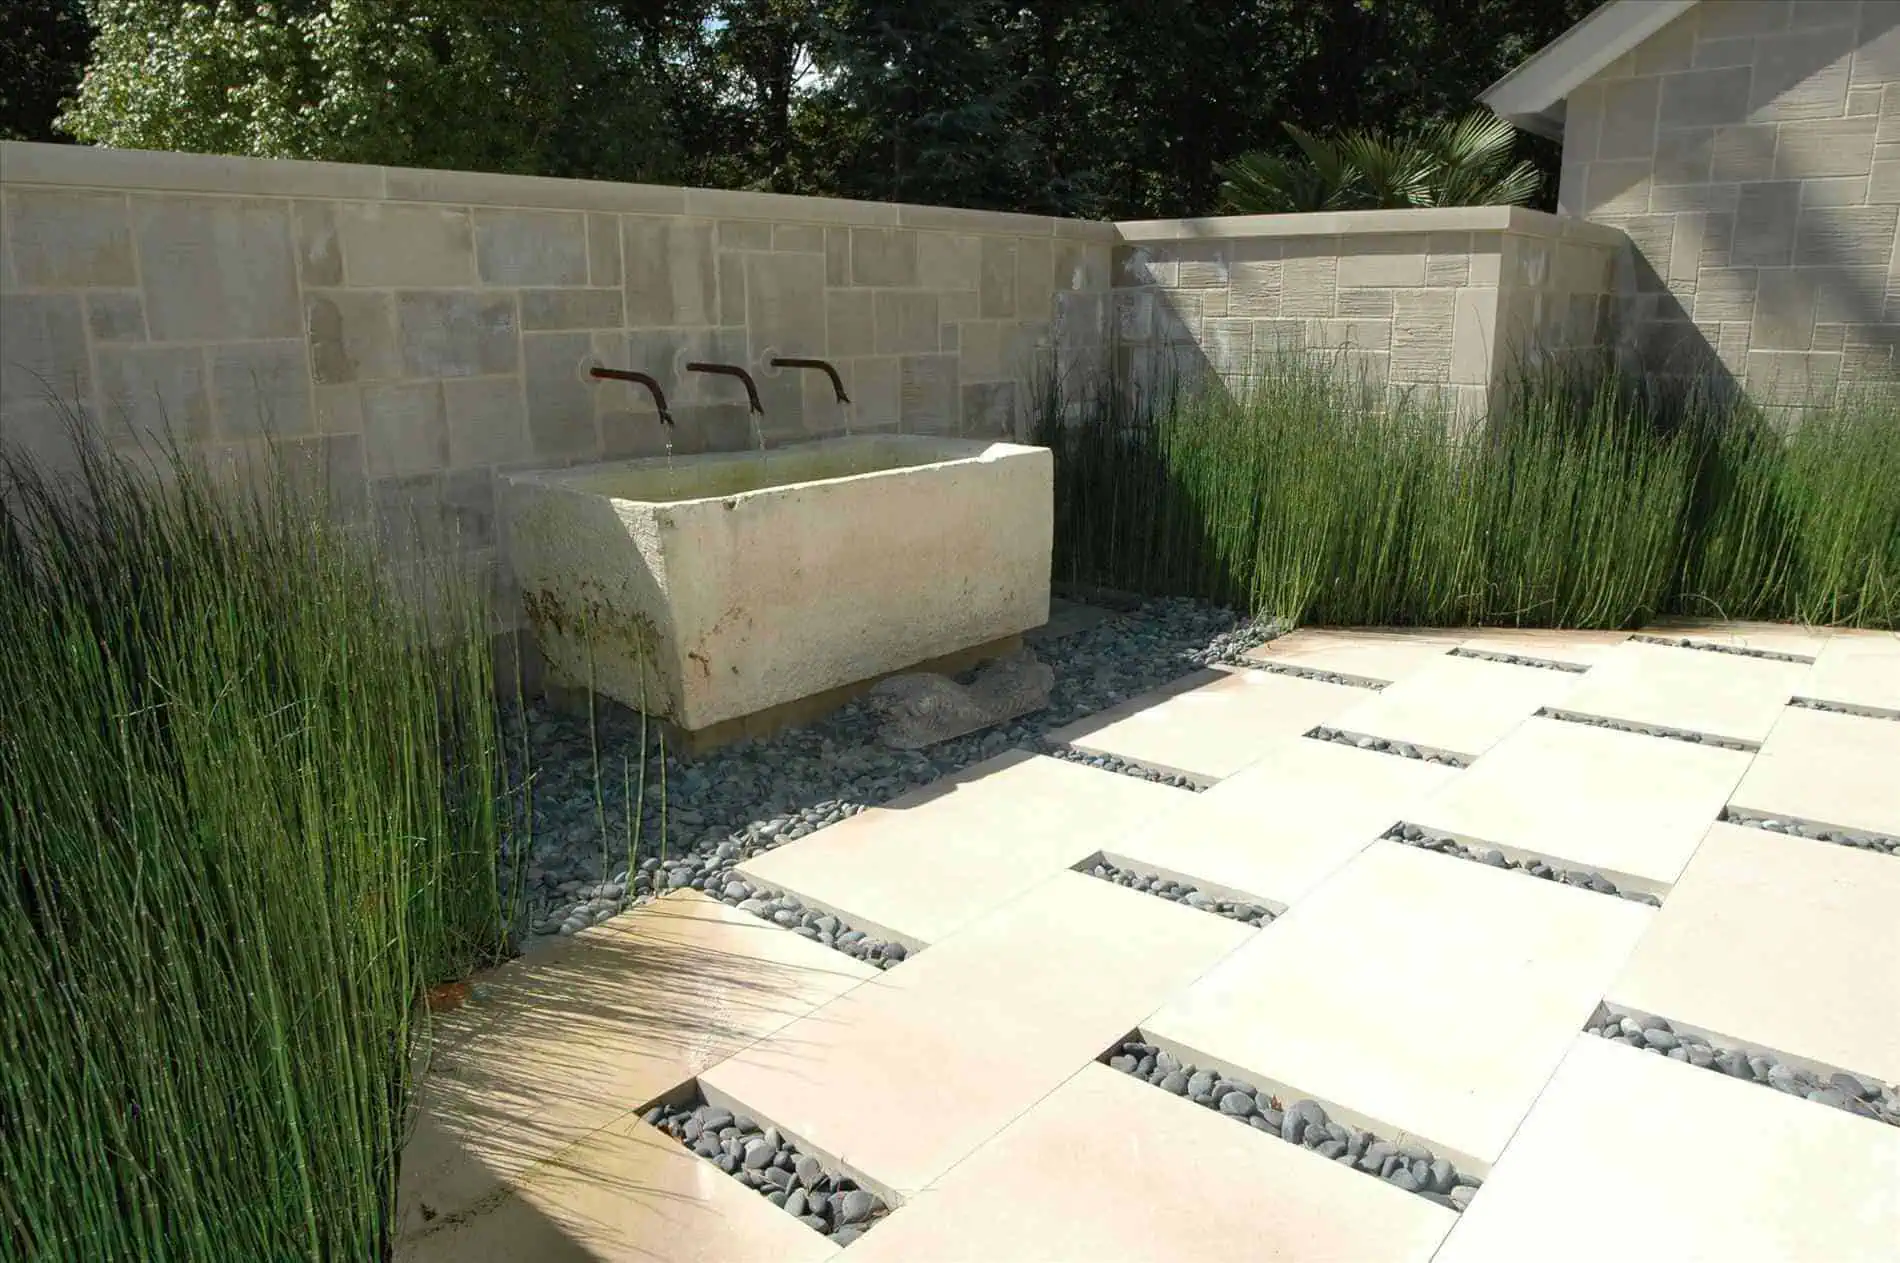
The following picture is a great way to use pebbles.
Choosing a black pebble about 5 cm to 7 cm and surrounding a white stepping stone allows you to fill a large area without making it look like a concrete jungle. Again the contrast between the pebbles and the stone makes the path jump out at you but the smoothness of the pebbles stop it from being too heavy.
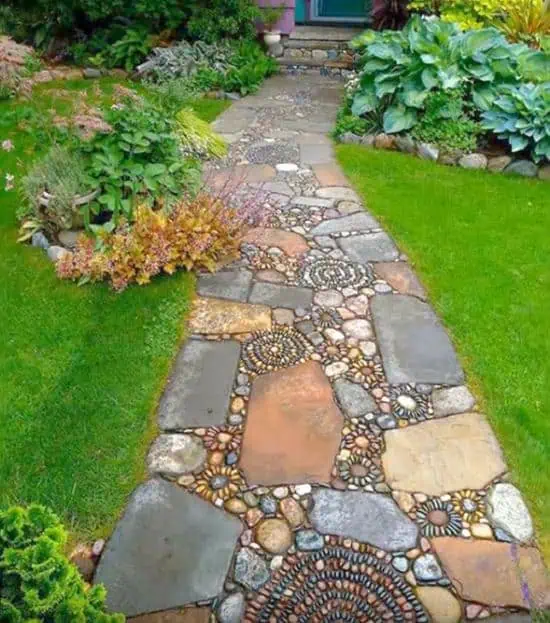
Now if you have the artistic flair of some, you might want to try your hand at creating something that people will be "wowed" by.
Obviously this sort of art takes a large amount of time but I think it is truly worth it. The path on the left has a mixture of small, medium, and large pebbles sewn in between large flat stepping stones. Some people might find this sort of thing a bit naff but personally I love the art that has gone into it. I think it makes a large difference and shows thought and consideration.
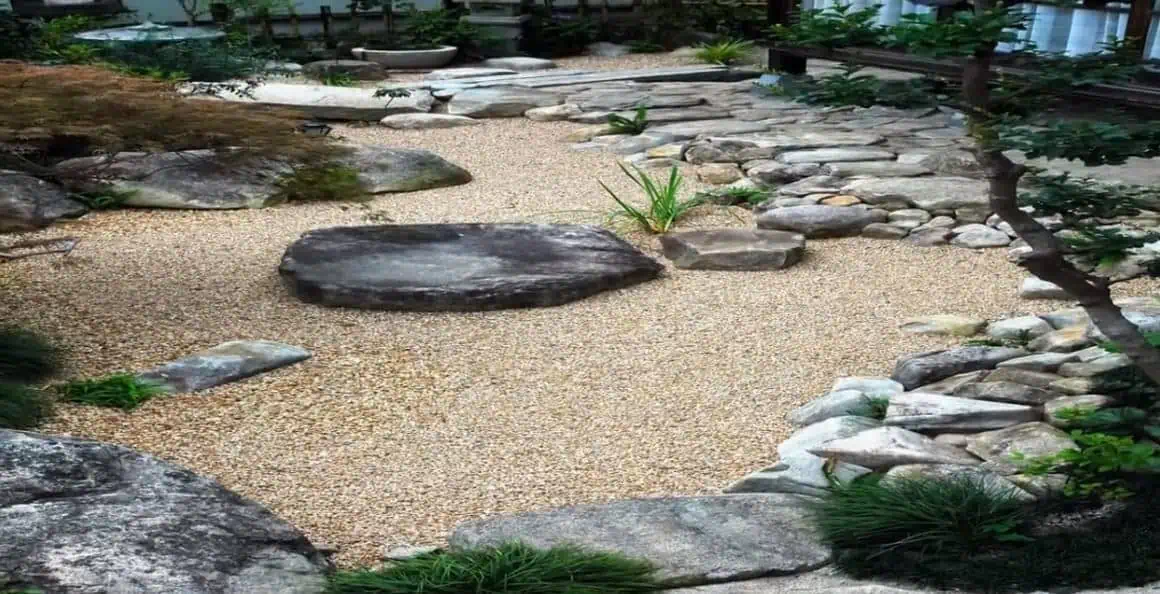
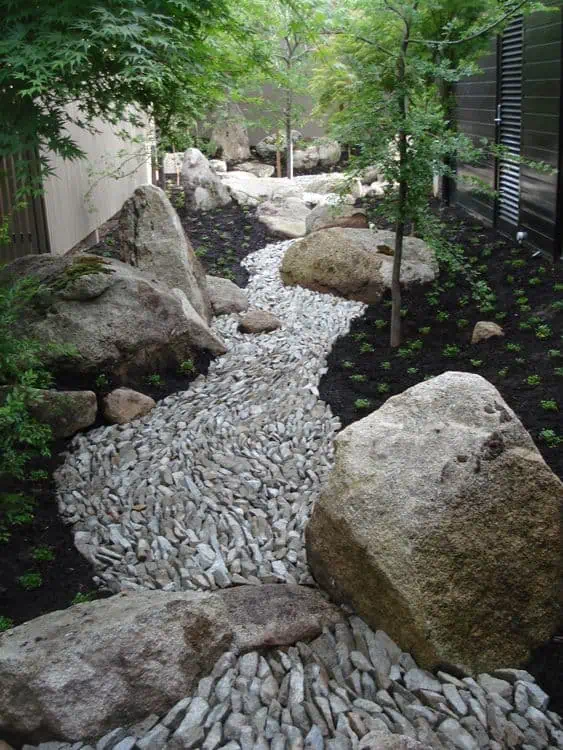
The picture on the right is of a dry stream. They have used large pebbles down to smaller pebbles to make a stream cut through the garden. Again, it is the contrast between the flat pavers and the black smoothness of the pebbles that makes this so pleasing to the eye. And what I love more than anything is, no maintenance!
Rocks in Garden
We will define Rocks as a big stone starting at the size of your hand and going up to around two metres across. After that I would use the term boulder.
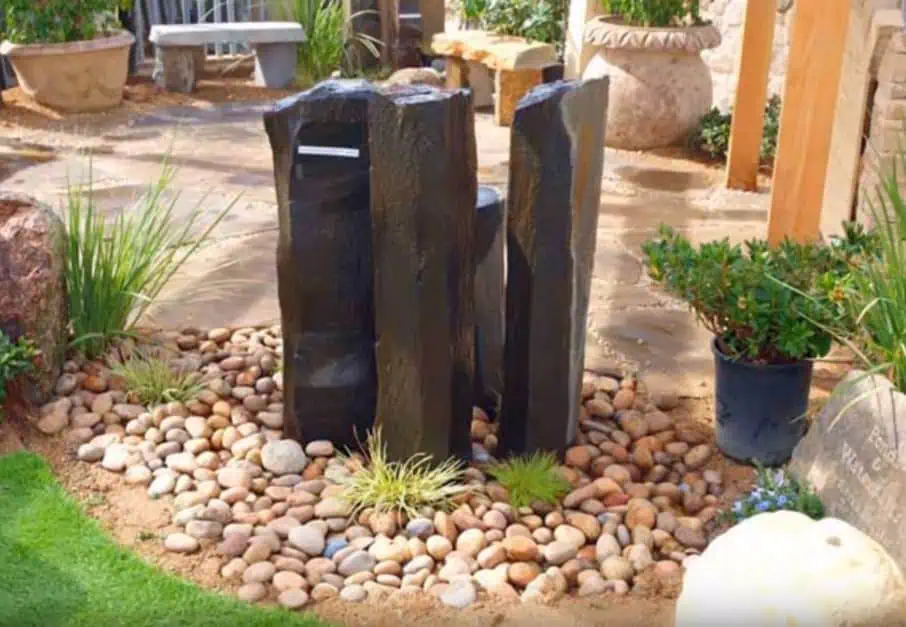
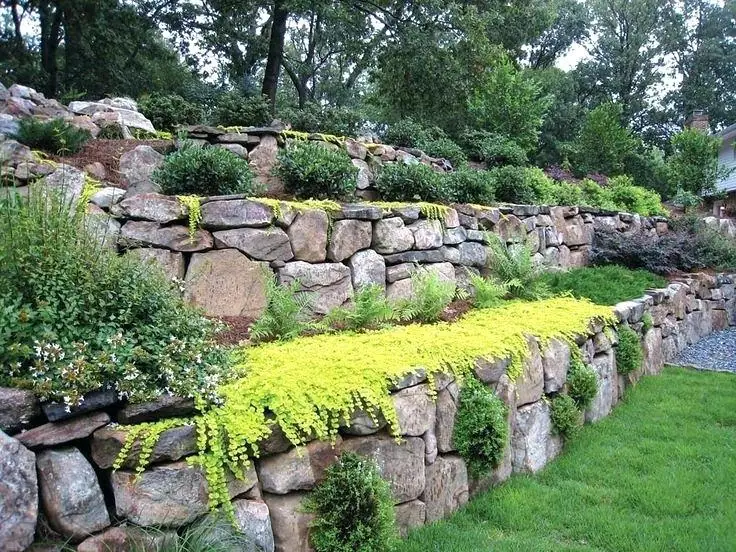
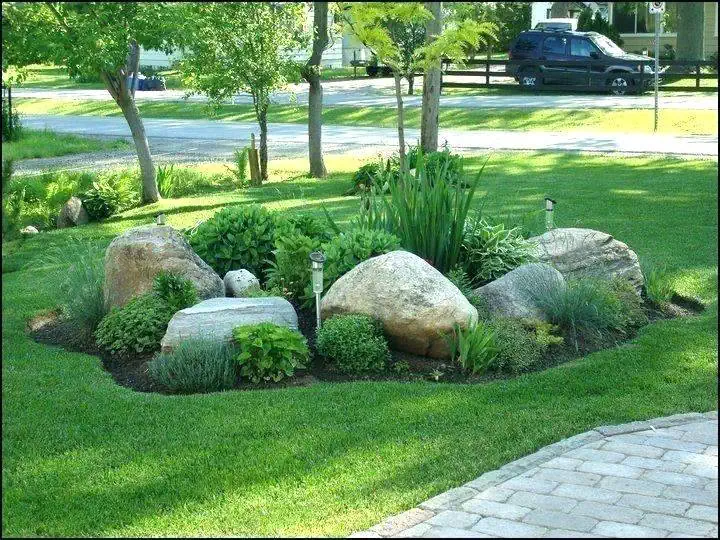
The two most obvious ways to use rocks is in a wall or as a large feature piece. Some home-owners also like to create rock garden beds, but we prefer to use pebbles for those designs. Below we have a non-cemented wall of placed rock helping stabilise a yard. Again this is low maintenance and very pleasing to the eye. On the right they have used large rocks to create a living artwork. This is the sort of thing you often see around expensive commercial buildings and it works perfectly well for a front yard or near a backyard entertainment area.
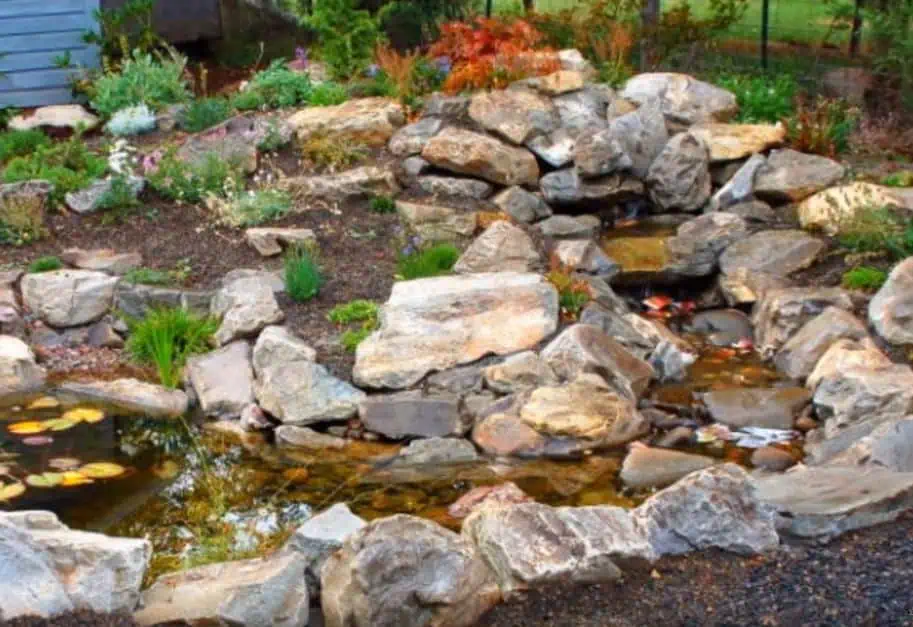
Below is the simple use of rocks to make a running water stream. Use heavy black plastic to line a cut out trench and then cover in rocks of all different sizes. Pump the water from the pool at the bottom up to the top and around it goes. These water features don't attract mosquitoes as they do not like running water. On the right we have a dry stream running through a garden bed. I like the way it looks like a real stream, albeit in a painted sort of way. Striking.
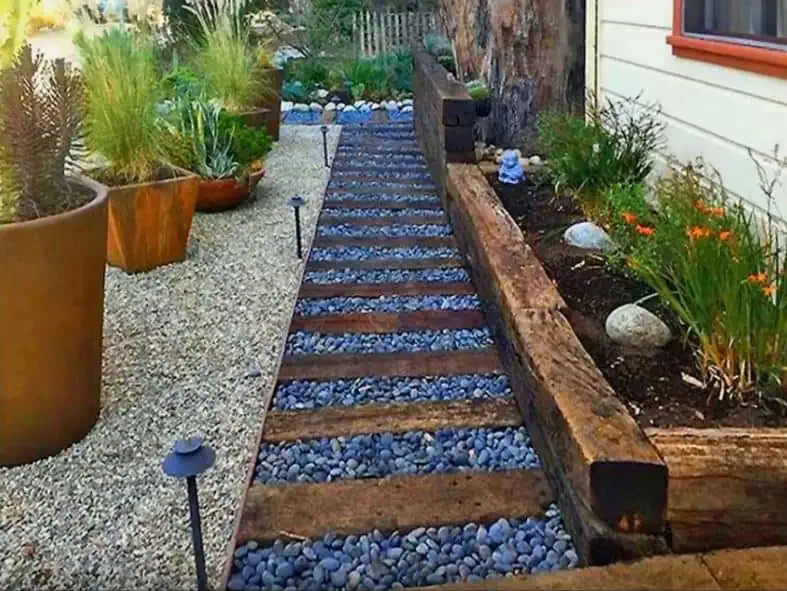
Finally, here are a few honourable mentions or as I like to say, pictures that I couldn't fit into the article elsewhere but I still love :).
I really hope you enjoyed today's article as much as I did putting it together. This is what Manna Gum Building And Garden Supplies is all about. We sell the basic materials and you bring your creativity and hard work to transform those materials into something spectacular.
Cheers,

